Create an item
2 mins read.
An order is required before you can create an item. Follow the Create an Order steps and come back if you haven’t created an order yet.
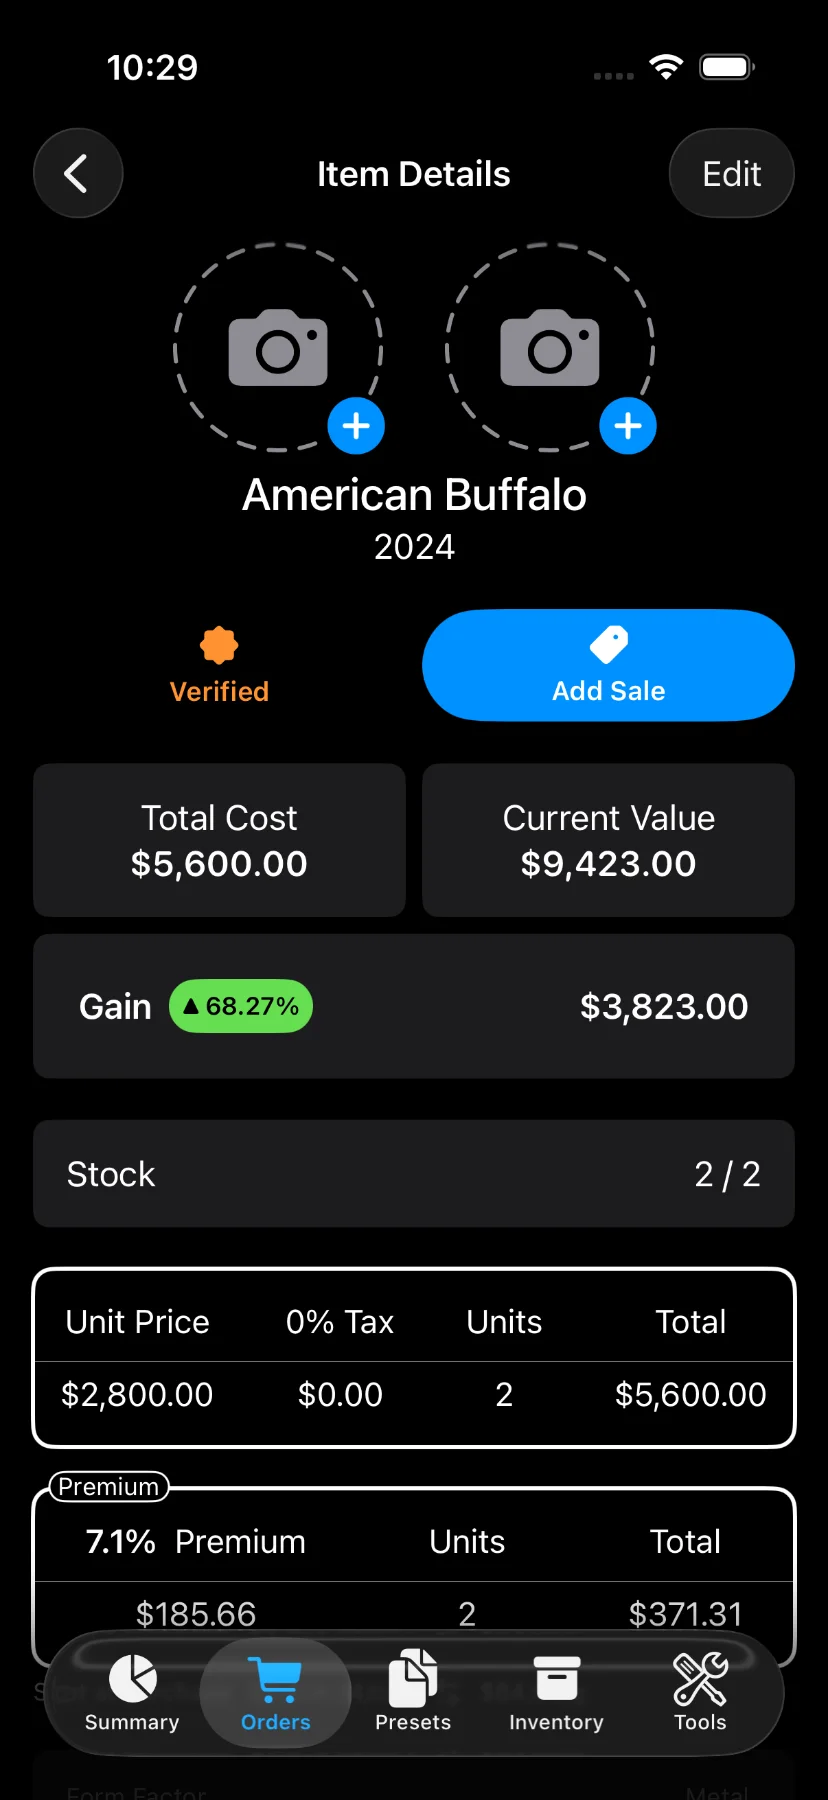
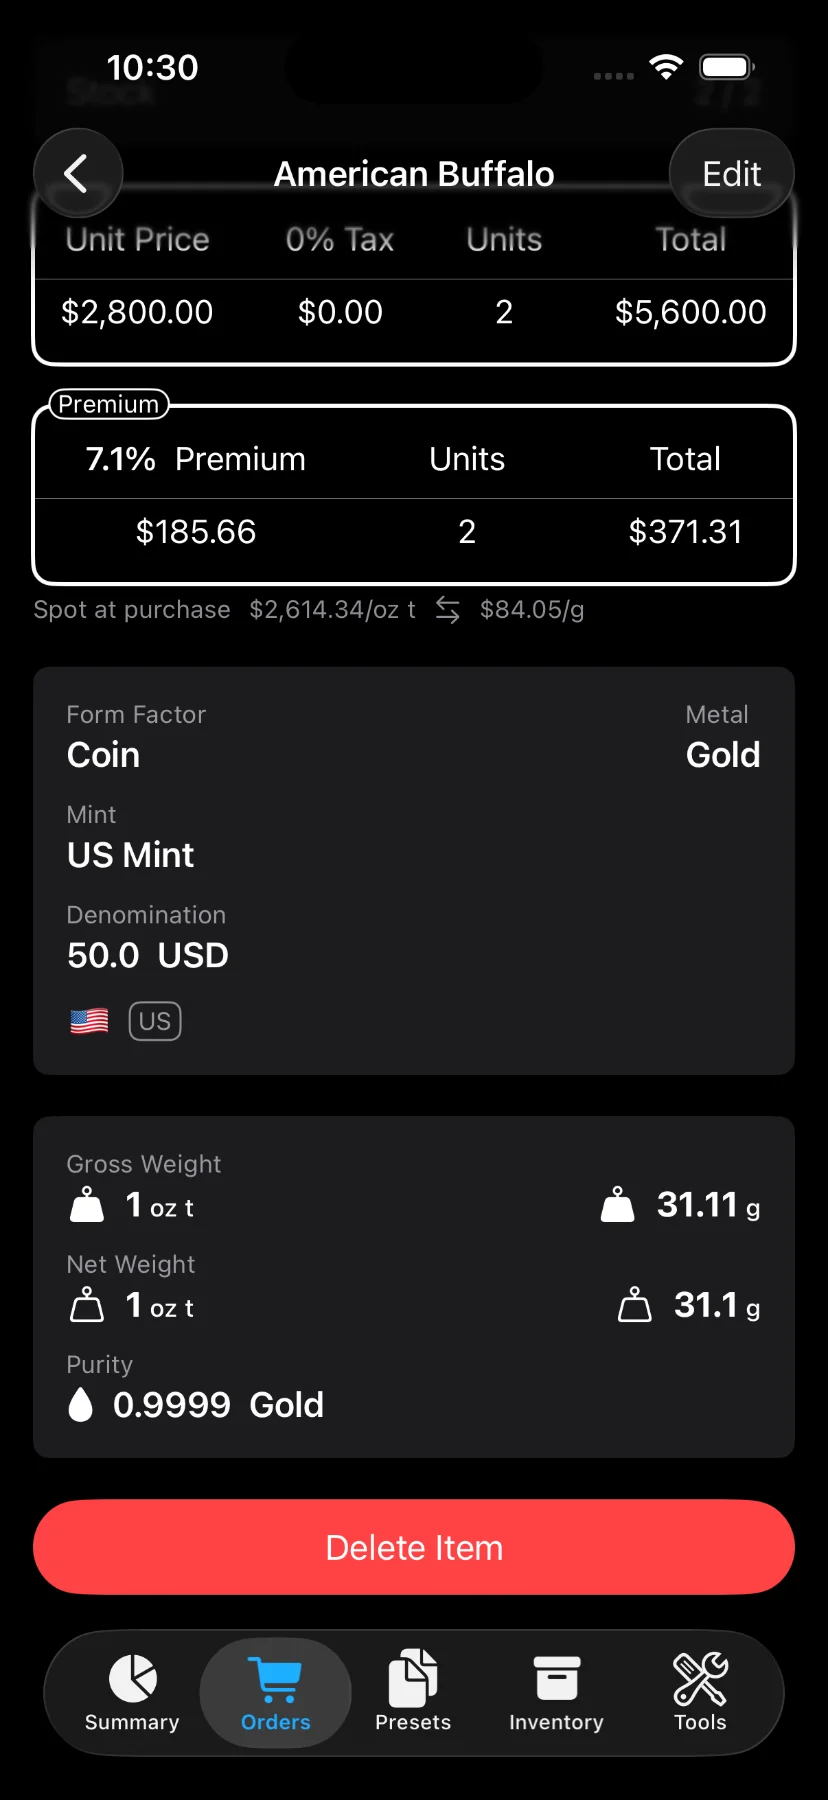
The concept of “Item” in Precious Metals Manager represents a specific product, including name, physical details, year, quantity, unit price, tax, spot price, numismatic value, and note.
When you make a purchase at a coin shop or from another individual, you are buying items that form part of an order.
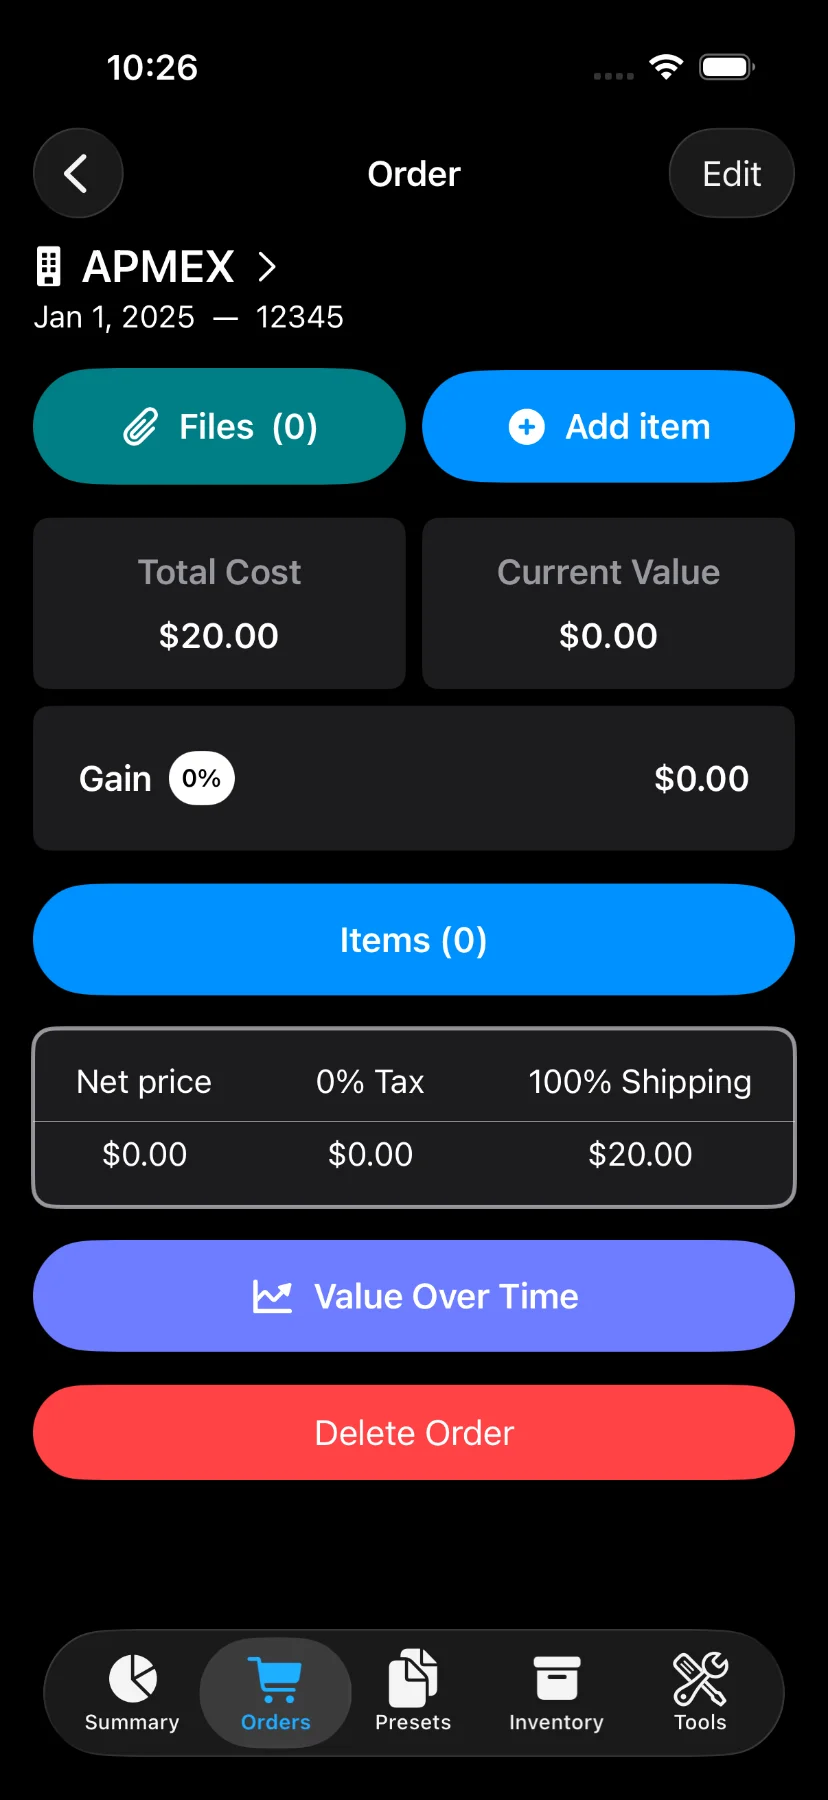
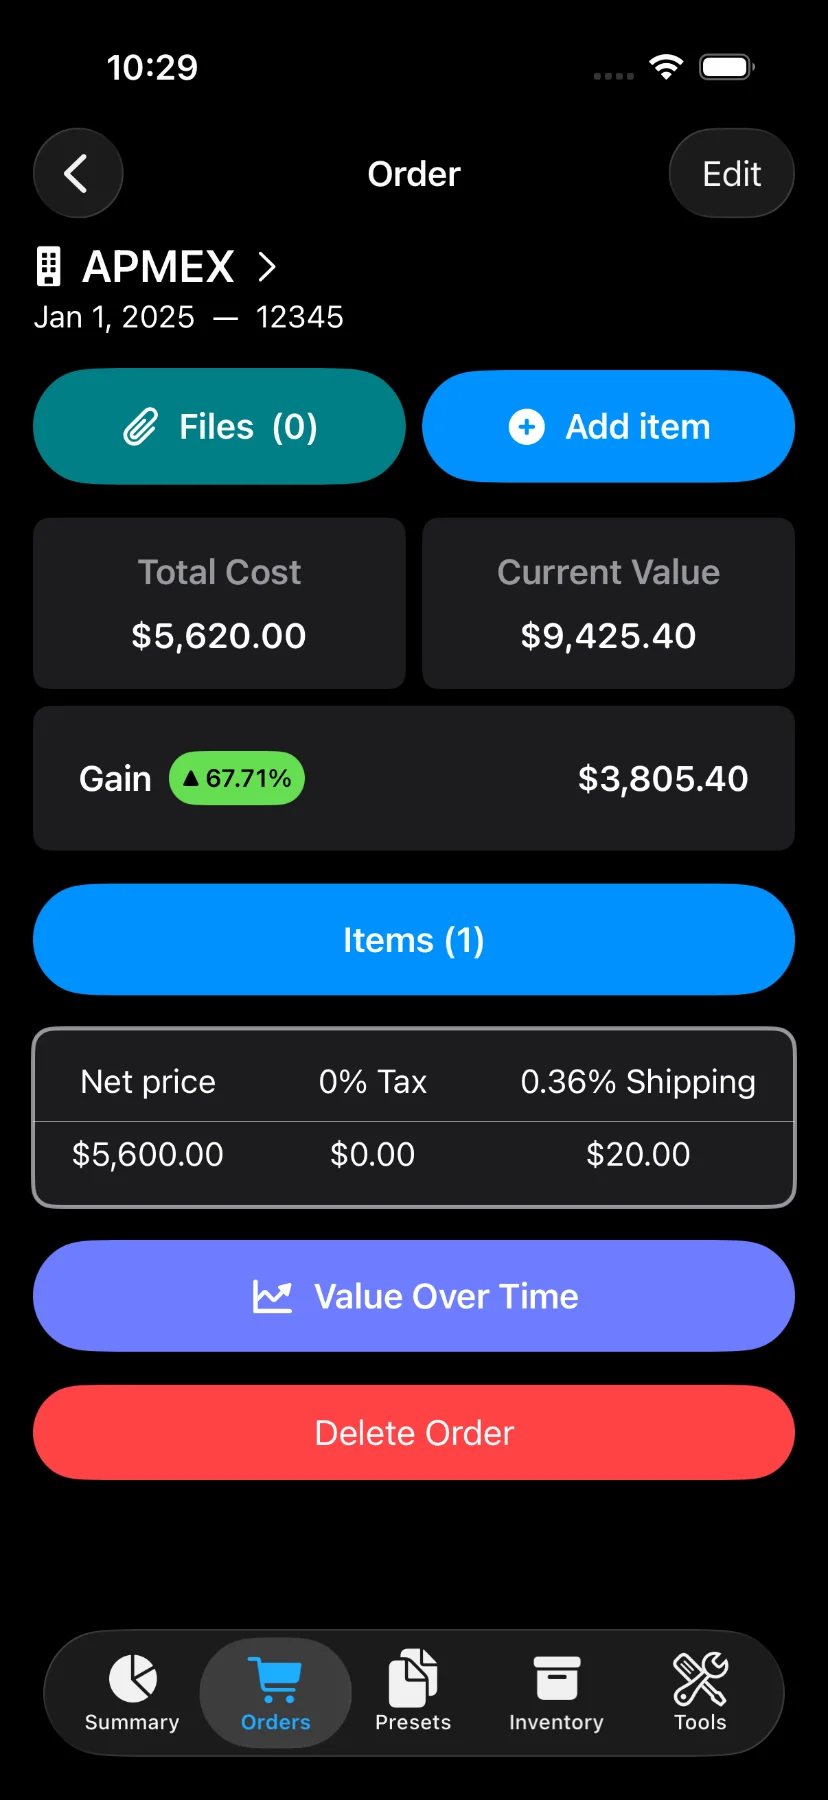
1) Tap on an order on the “Orders” tab.
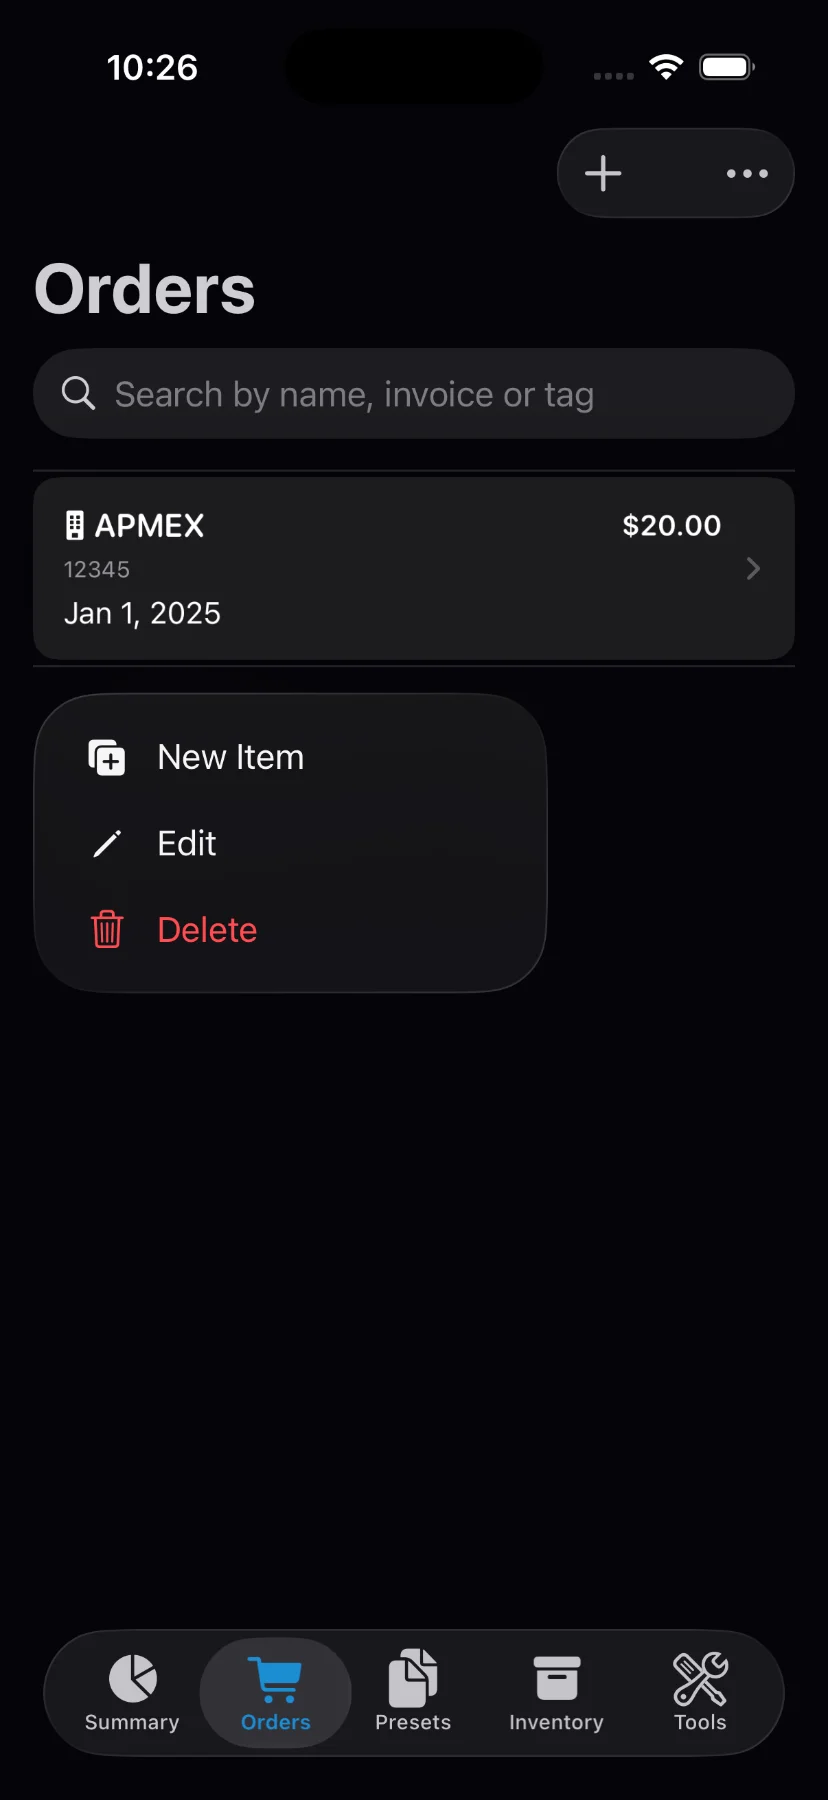
2) Tap on “+ Add item” button.
Alternatively, you can create an item from the list of orders by long-pressing on an order.
3) The input screen for registering a new item consists of:
- Metal: Gold, Silver, Platinum, Palladium, or Copper.
- Form Factor: Bar, Coin, Round, or Jewelry.
- Bullion Preset (Optional): Select from one of the included presets, or create your own. Selecting a preset auto-fills and locks name, mint, net weight, purity, and wear.
- Name (Optional): only available when a preset is not selected.
- Mint (Optional): only available when a preset is not selected.
- Year (Optional)
- Quantity
- Net Weight: weight excluding alloy in troy ounces or grams. Only available when a preset is not selected.
- Purity (aka fineness): represents the karat as a ratio. Only available when a preset is not selected.
- Wear (Optional): percentage of loss due to circulation. It’s commonly used for junk silver. Only available when a preset is not selected.
- Graded (Optional): toggle to indicate the item has been professionally graded. When enabled, allows selecting a Grading Company and Grade from your configured presets.
- Unit Price (Optional)
- Tax (Optional)
- Spot Price: the market price at the time of the purchase. By default it uses the order date. Tap the toggle for manual input.
- Numismatic Value (Optional): set a value per unit if this item is worth more than its melt value.
- Exclude from Valuation (Optional): when enabled, the item won’t count toward portfolio totals.
- Note (Optional)

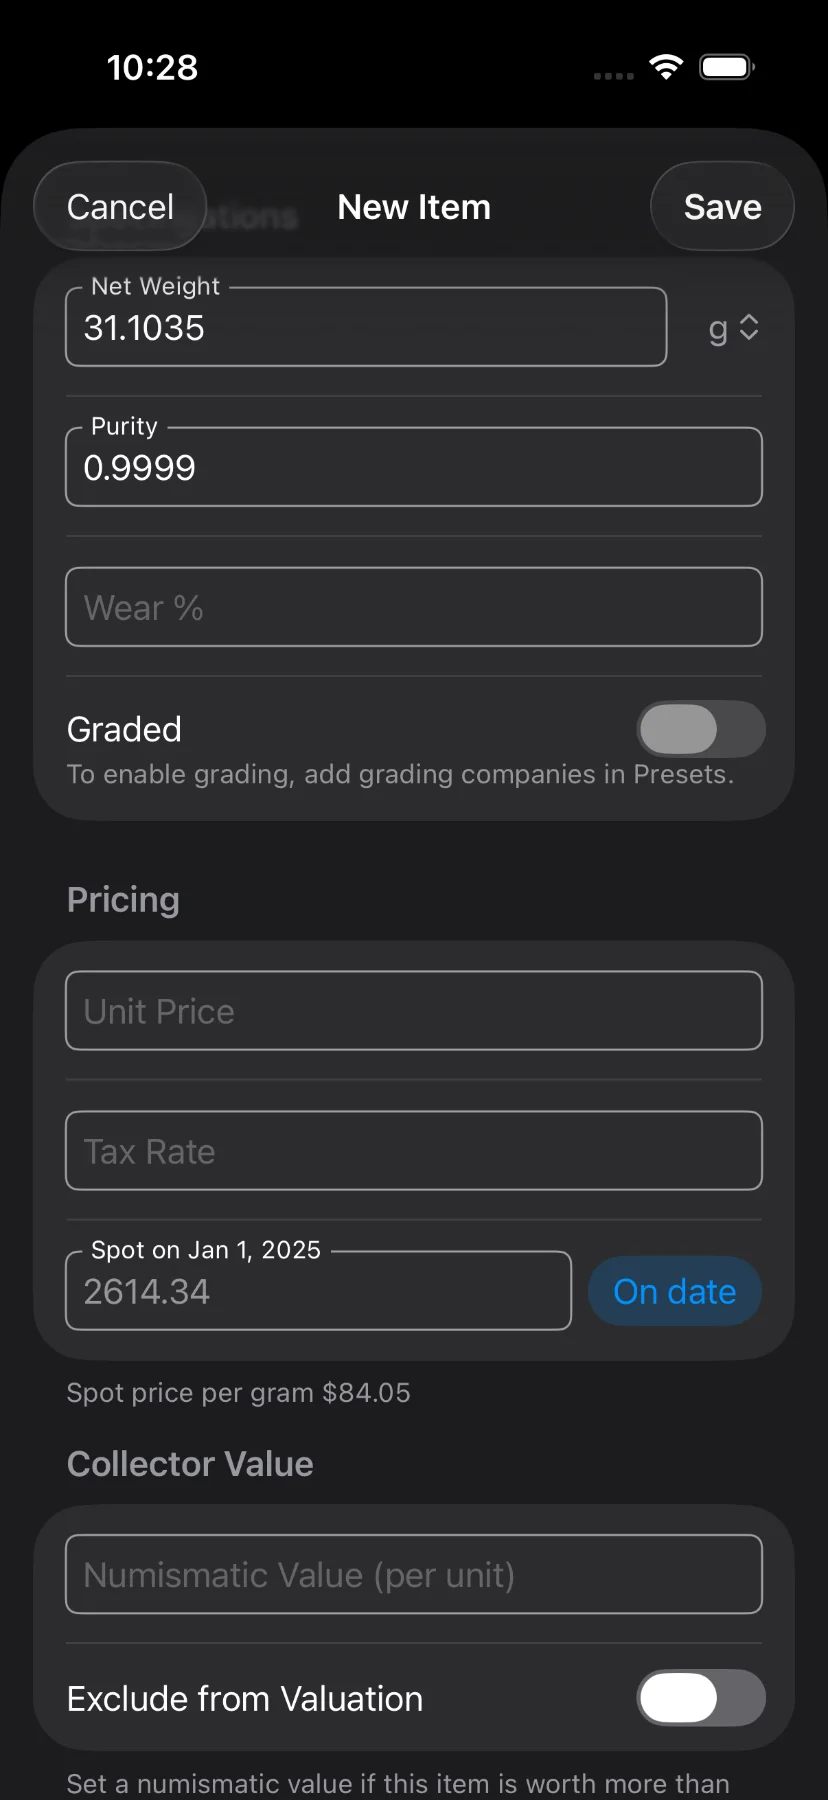
4) Tap on “Save” to register the item.
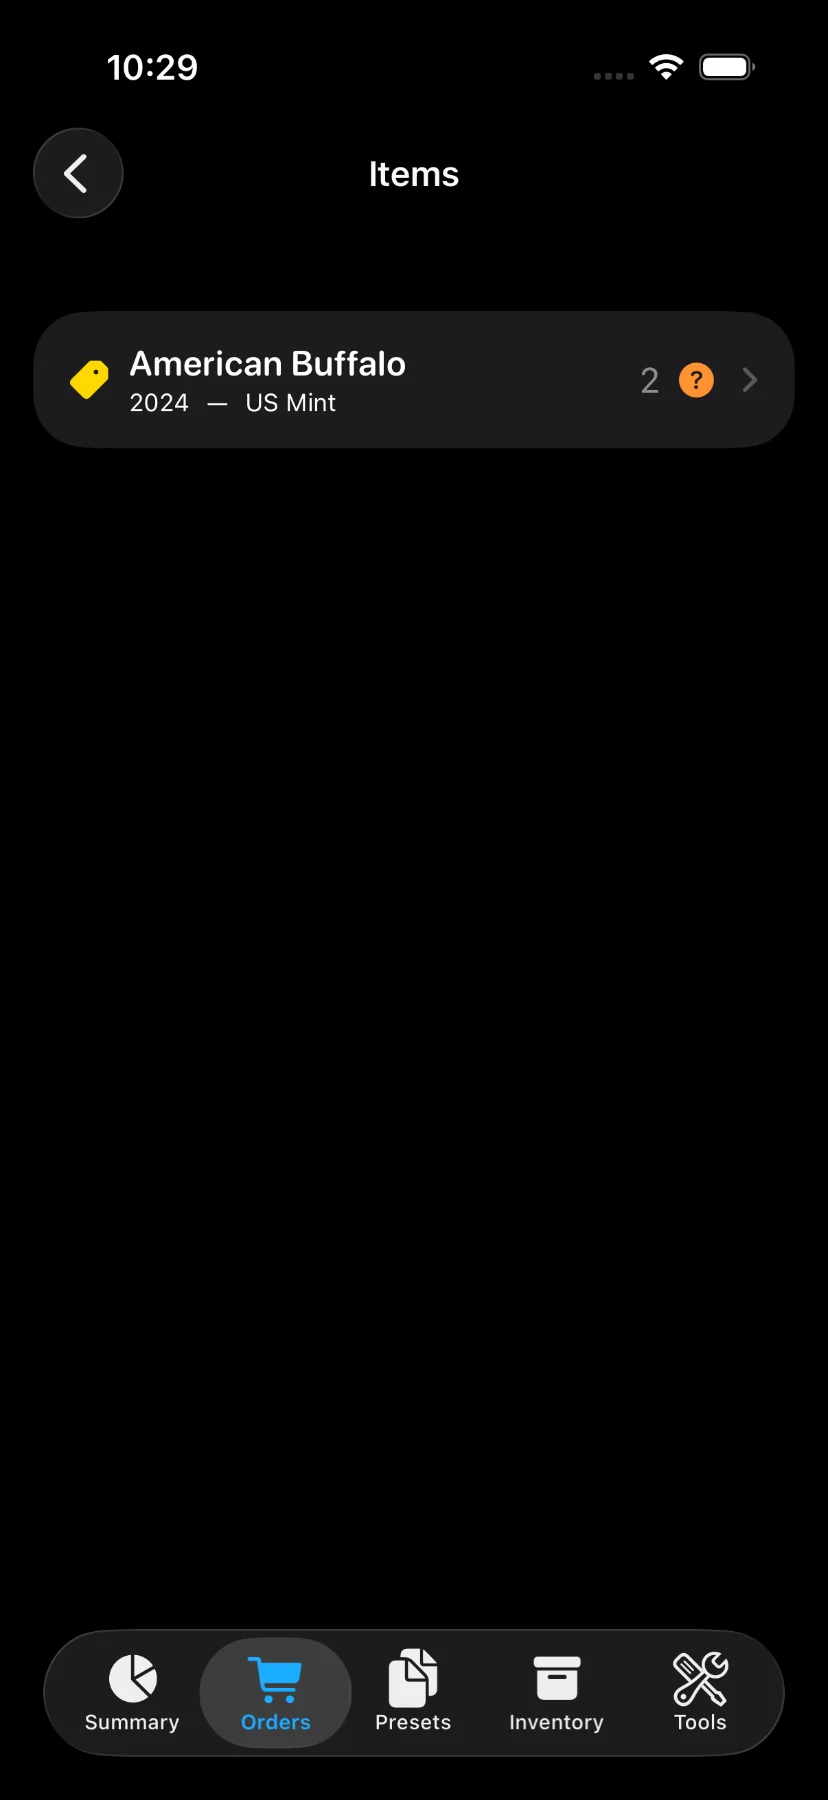
5) Review your items.
Once you have saved an item, you can review it from an “Order” or from the “Inventory” tab.
or from the “Inventory” tab.
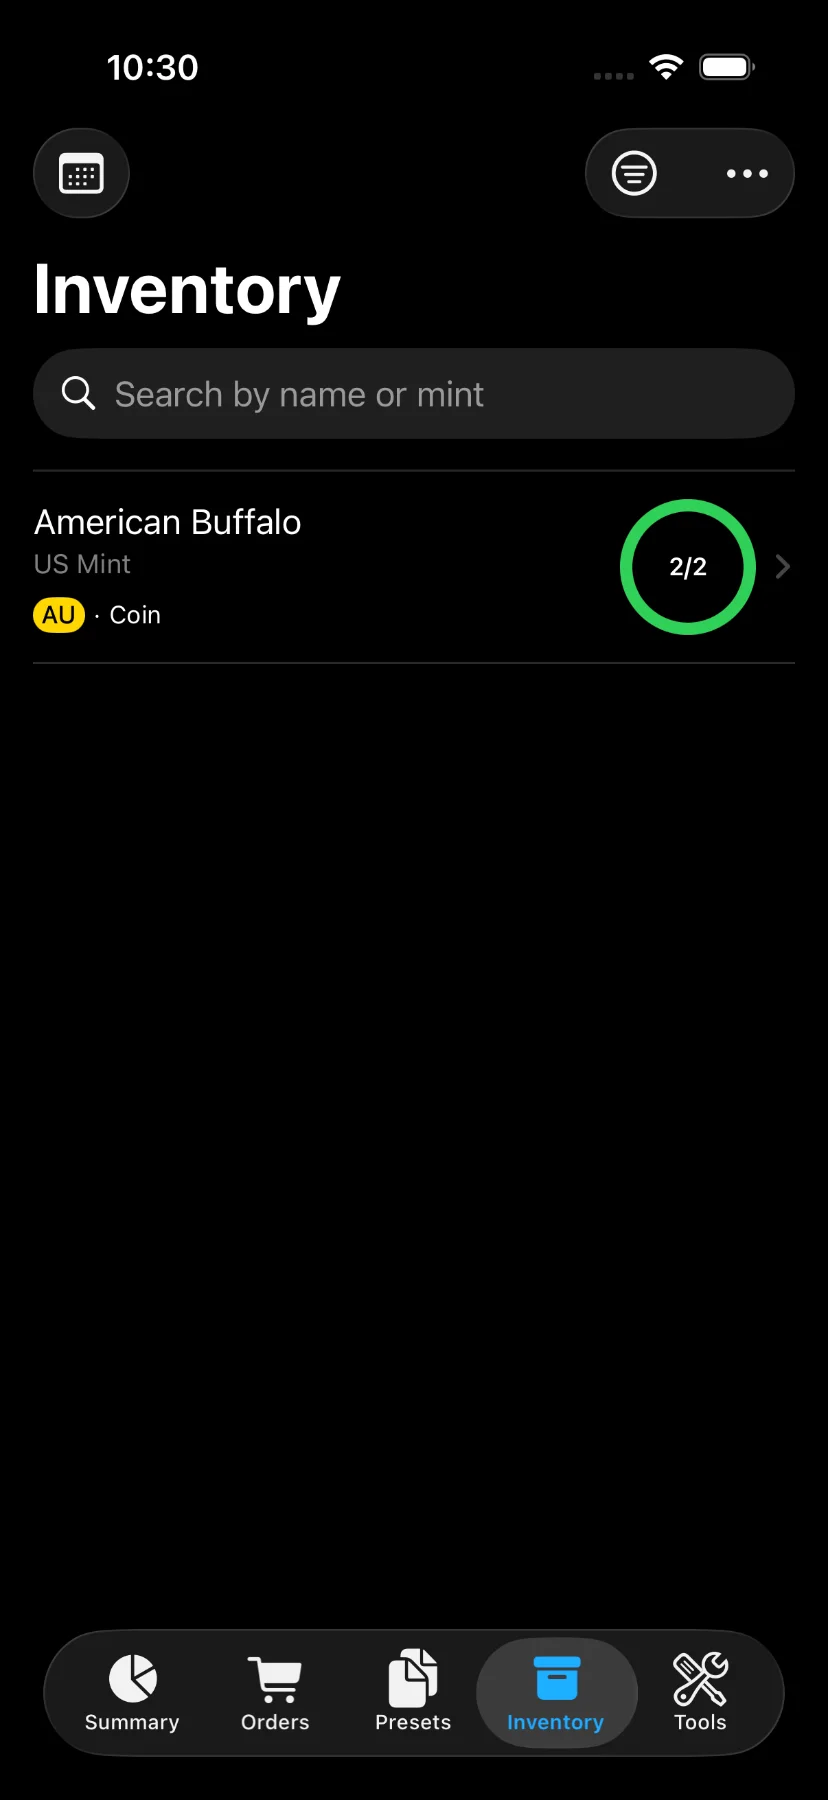
The item screen shows all the details about the item. Additinally, you can attach up to two photos, mark the item as verified or add sales.