Create an order
1 min read.
Orders must be created before adding items to your inventory.
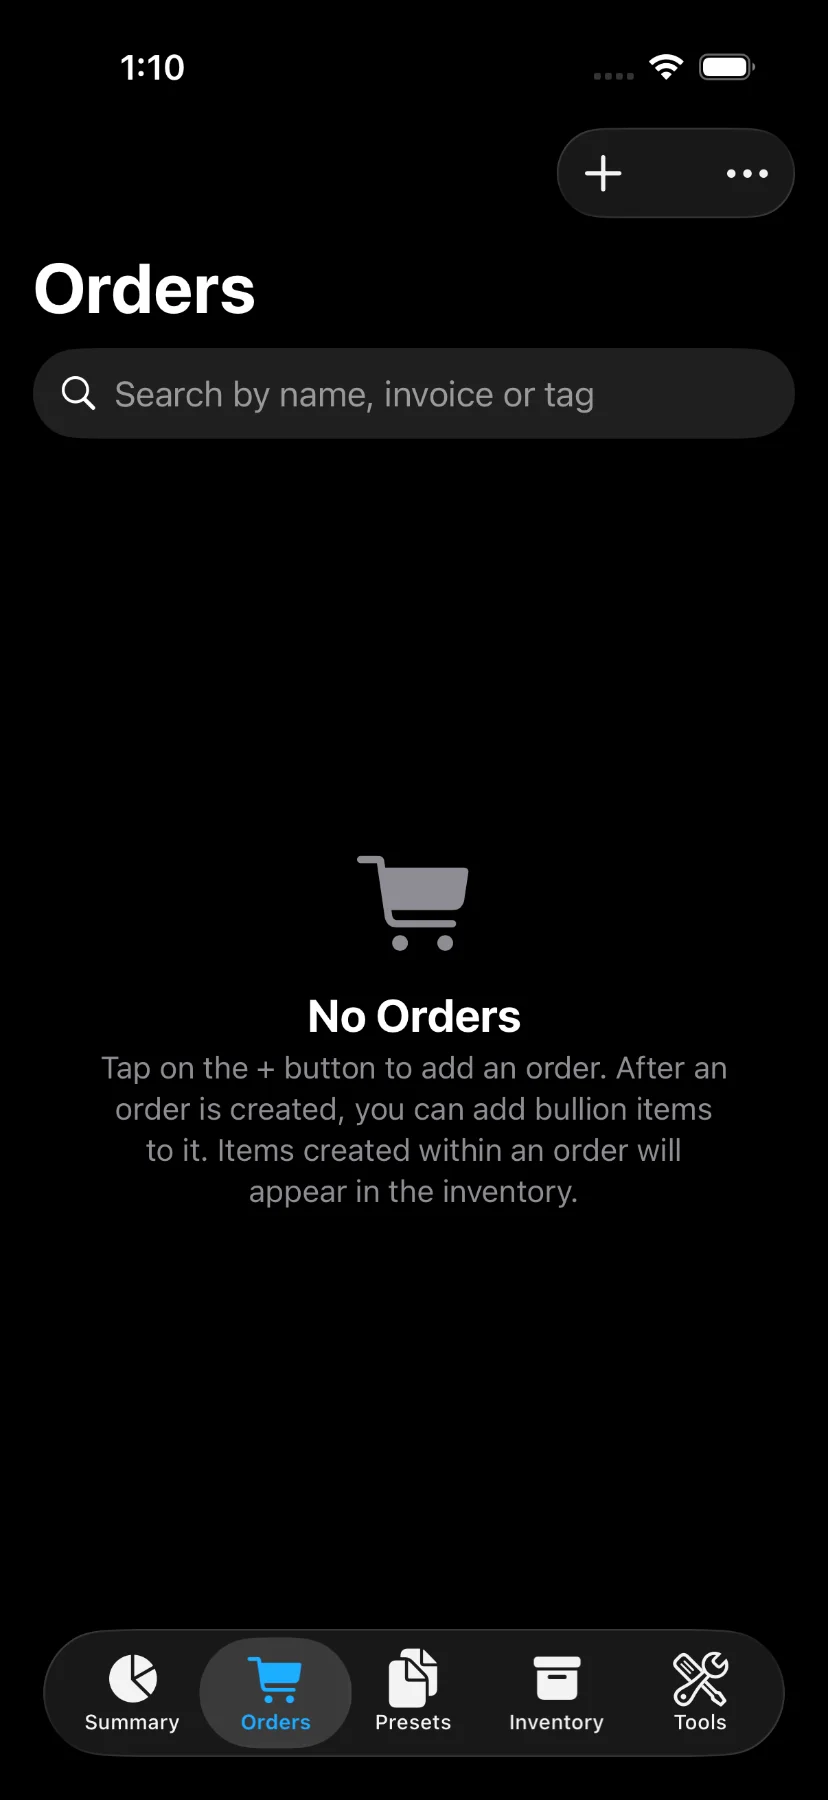
1) In the Orders tab, tap “+” button and choose New Order to open up the page to add your order.
On devices that support Apple Intelligence the “+” button opens a menu with a second option, Import Invoice, which fills the whole order in for you from a PDF or photo. See Import an Invoice.
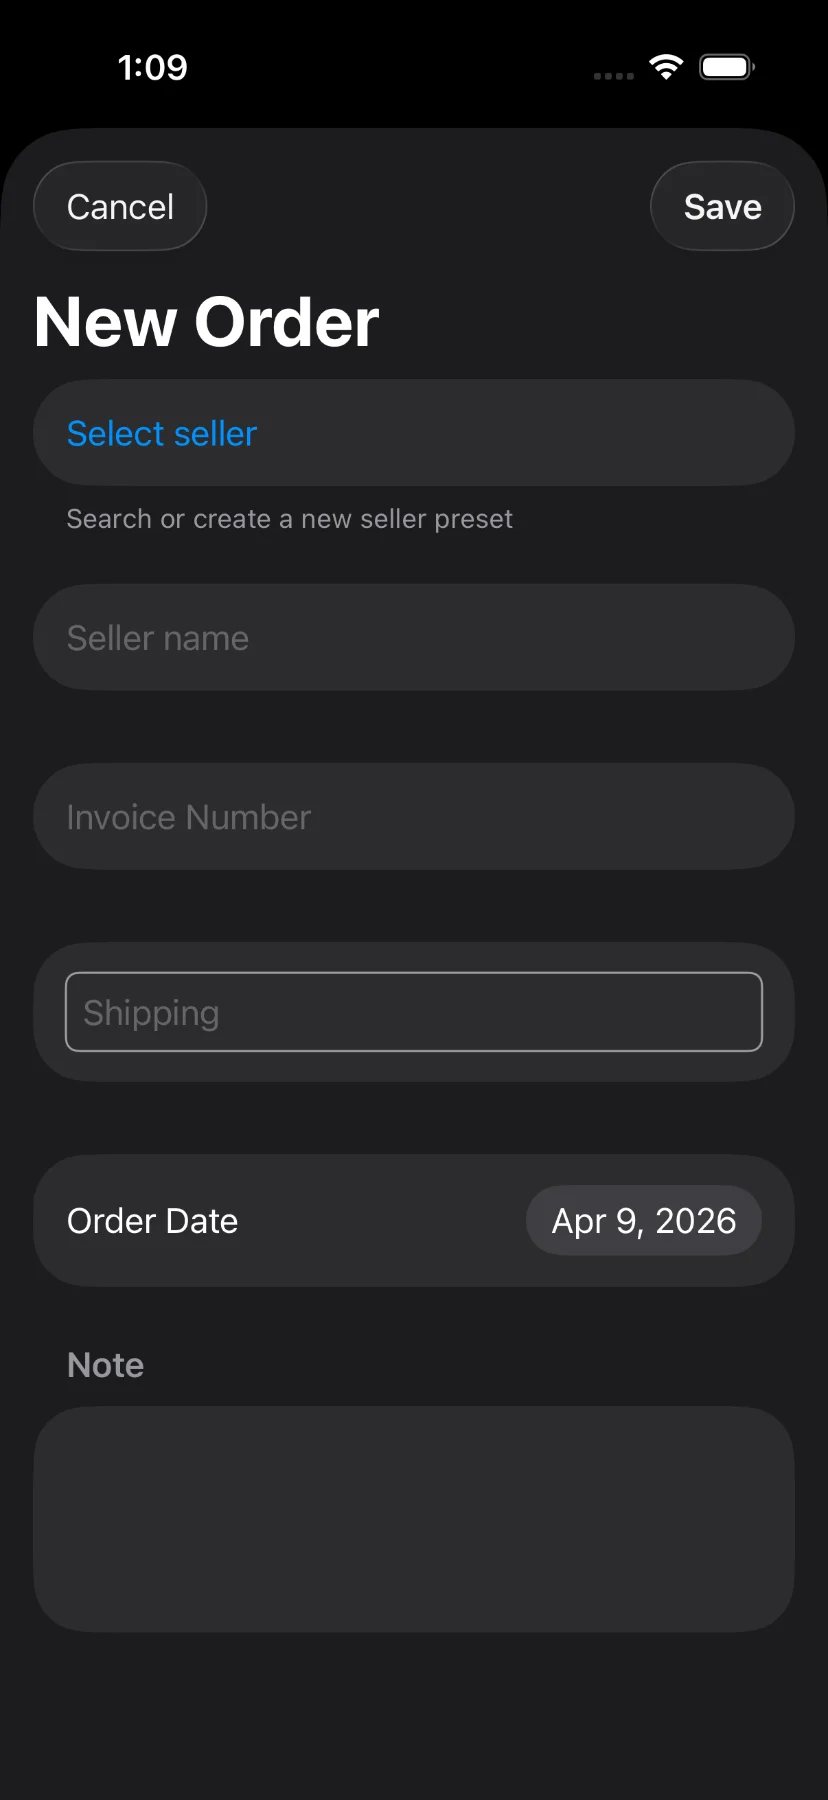
2) The input page for registering a new order consists of:
- Seller: select from your saved seller presets. If no preset is selected, a Seller Name field appears and a new seller will be created automatically on save.
- Invoice Number (Optional): only shown when the selected seller type is Dealer or Refiner (hidden for Individual).
- Tracking Number (Optional): the carrier tracking number for the shipment.
- Shipping Cost (Optional): defaults to zero.
- Order Date (Optional): defaults to today.
- Note (Optional)
All fields are optional. If you skip them, the order will be created with zero shipping cost and today’s date.
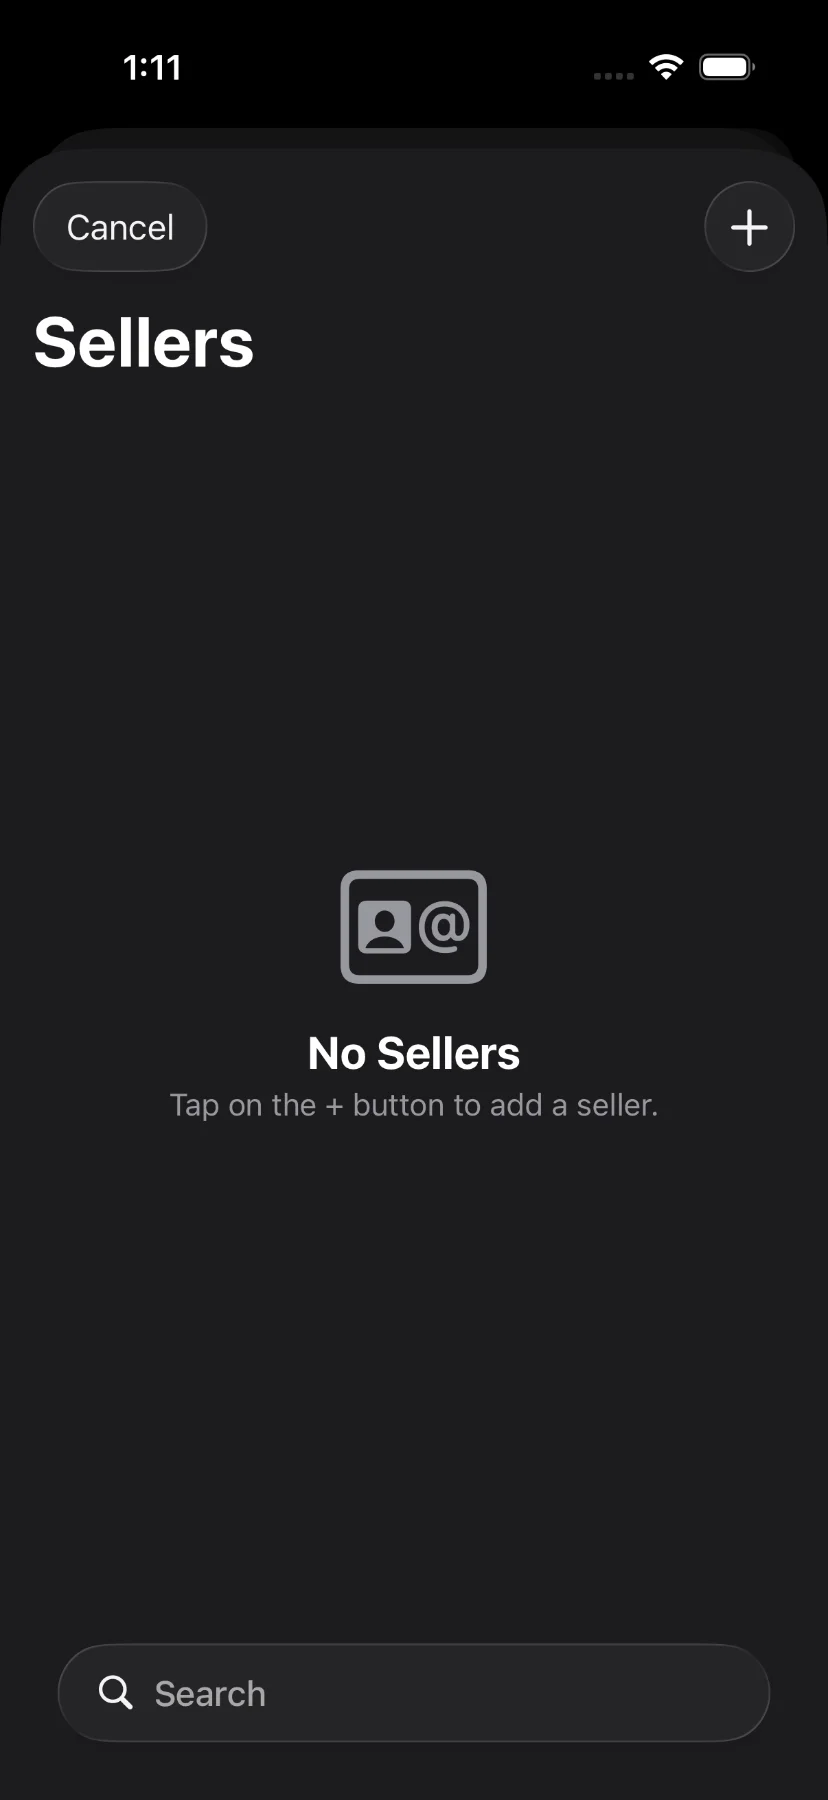
3) To create a custom seller preset tap on “Seller”.
4) In the Sellers screen, tap “+” button to open up the page to create a new seller.
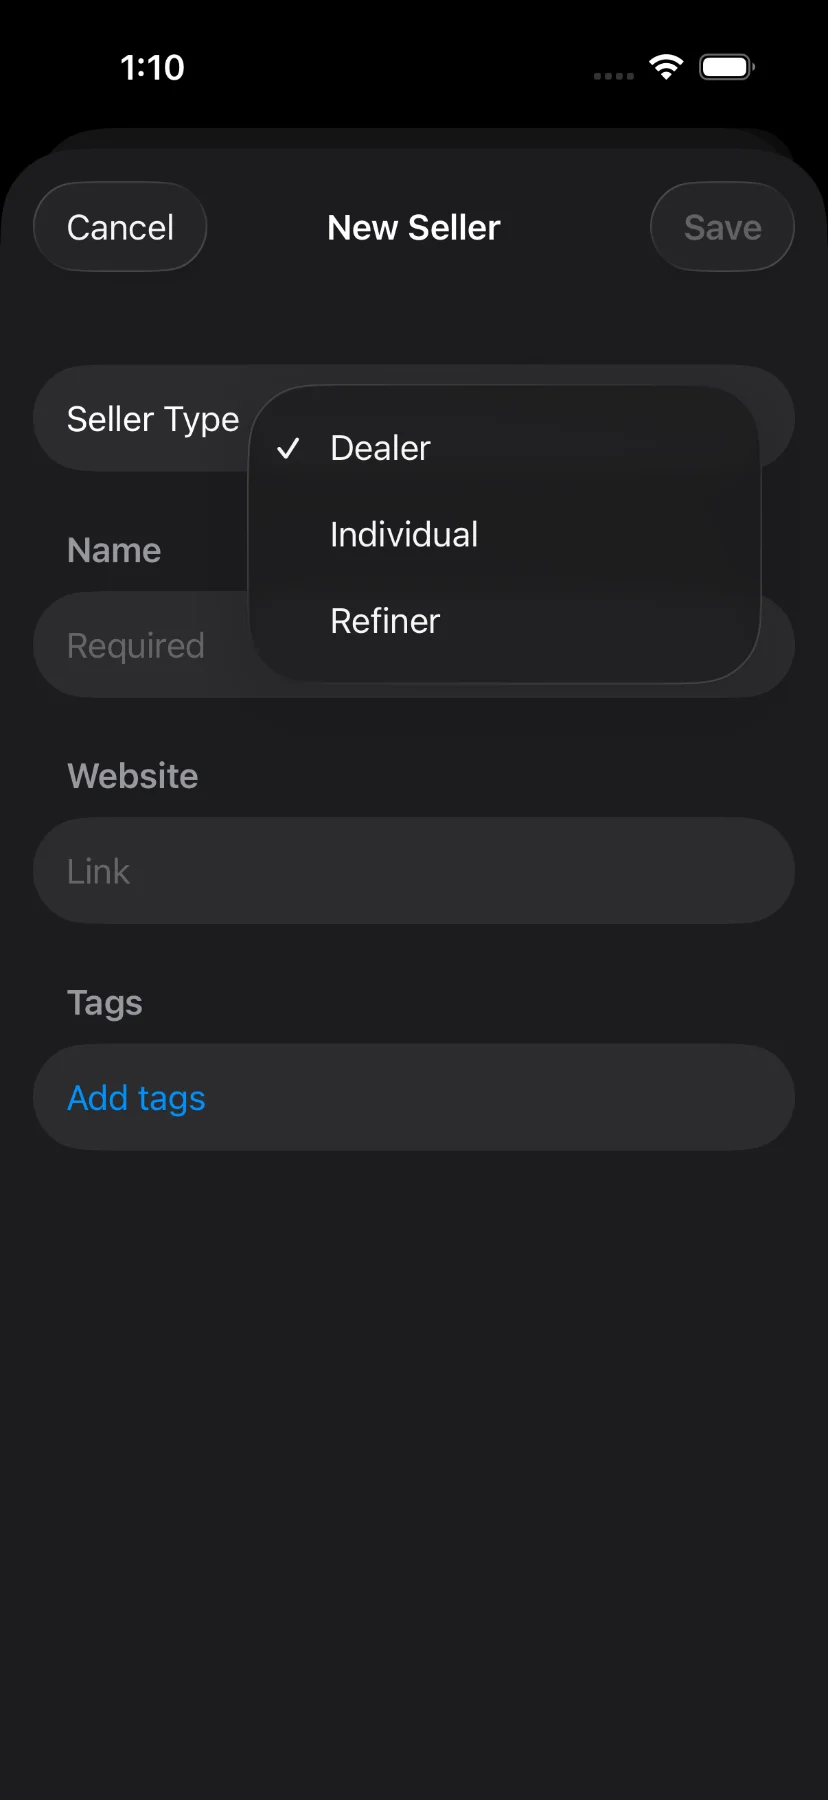
5) The input page for registering a new seller consists of:
- Type (Dealer, Individual, Refiner)
- Name (required)
- Website/Forum link
- Add tags
6) Tap on ‘Save’ to record your seller, and select it to use it in your new order.
7) Finally tap on ‘Save’ to record your order.
Once saved, the tracking number appears on the order details screen. Tap it to copy it to the clipboard and paste it into your carrier’s site.